The impFactory BlinkUp Appliance
Electric Imp’s Off-the-shelf Factory Fixture
The impFactory™ is Electric Imp’s recommended BlinkUp™ fixture. This off-the-shelf appliance allows your assembly line to prepare Devices Under Test (DUTs) to load and run factory firmware. It does this by sending a factory enrollment token and, if required, factory WiFi credentials to each DUT’s on-board imp. This data is transmitted optically via an LED connected to the impFactory.
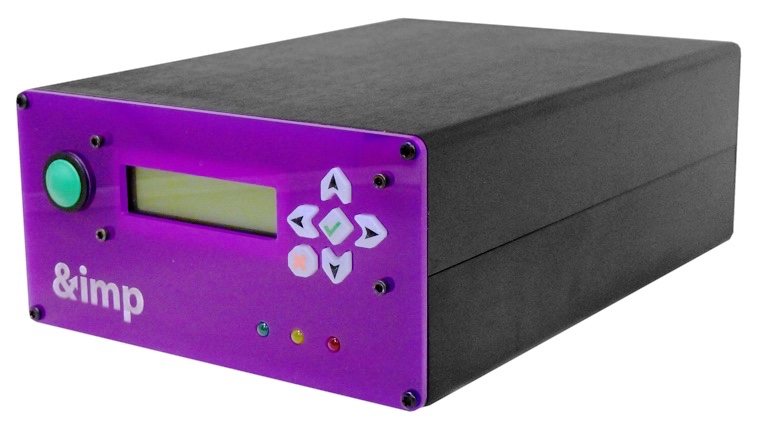
The impFactory is a great option for all imp-enabled products going to manufacturing because it can be purchased directly and includes many useful features:
- Large, durable front-panel button for triggering factory BlinkUp.
- BlinkUp emitter status indicator on the front panel.
- LCD and keypad to provide options for more complex tests and/or operator interaction.
- Red and green LEDs on the front panel can be used to display test Pass/Fail information or other vital stats.
- Rear Panel:
- Mini USB for power.
- RS232 serial port allows the impFactory to drive other assembly line equipment, such as a label printer.
- Foot switch port allows an external switch to be used as a BlinkUp trigger.
- LED port to drive assembly line factory BlinkUp emitter
- Ethernet port for wired networking — WiFi also supported.
- USB A port for USB host.
- Photosensor for BlinkUp.
- BlinkUp status LED.

To set up an impFactory, use the Electric Imp mobile app to add the fixture to your Electric Imp account. Within impCentral™, Electric Imp’s online development and production management tool, you assign the impFactory to a Test Fixture Device Group or to a Fixture Device Group. Whichever of these groups you assign the impFactory to, you will deploy your fixture firmware to the same group.
- If you are unfamiliar with the Electric Imp Connected Factory Process, please take a moment to read our brief introduction, which includes a full glossary of the terminology you will encounter in this guide.
impFactory Usage
1. Add Your impFactory To Your Account
To begin developing your factory firmware, you’ll need to configure your impFactory as a developer device:
- Power on the impFactory by plugging it into a USB power supply with the supplied Mini USB cable.
- Run the Electric Imp app on your mobile device and log into your Electric Imp account.
- Tap Configure a Device and select Wireless or Ethernet according to how your impFactory will be connected to the Internet.
- For Wireless, enter the WiFi credentials for your factory or location.
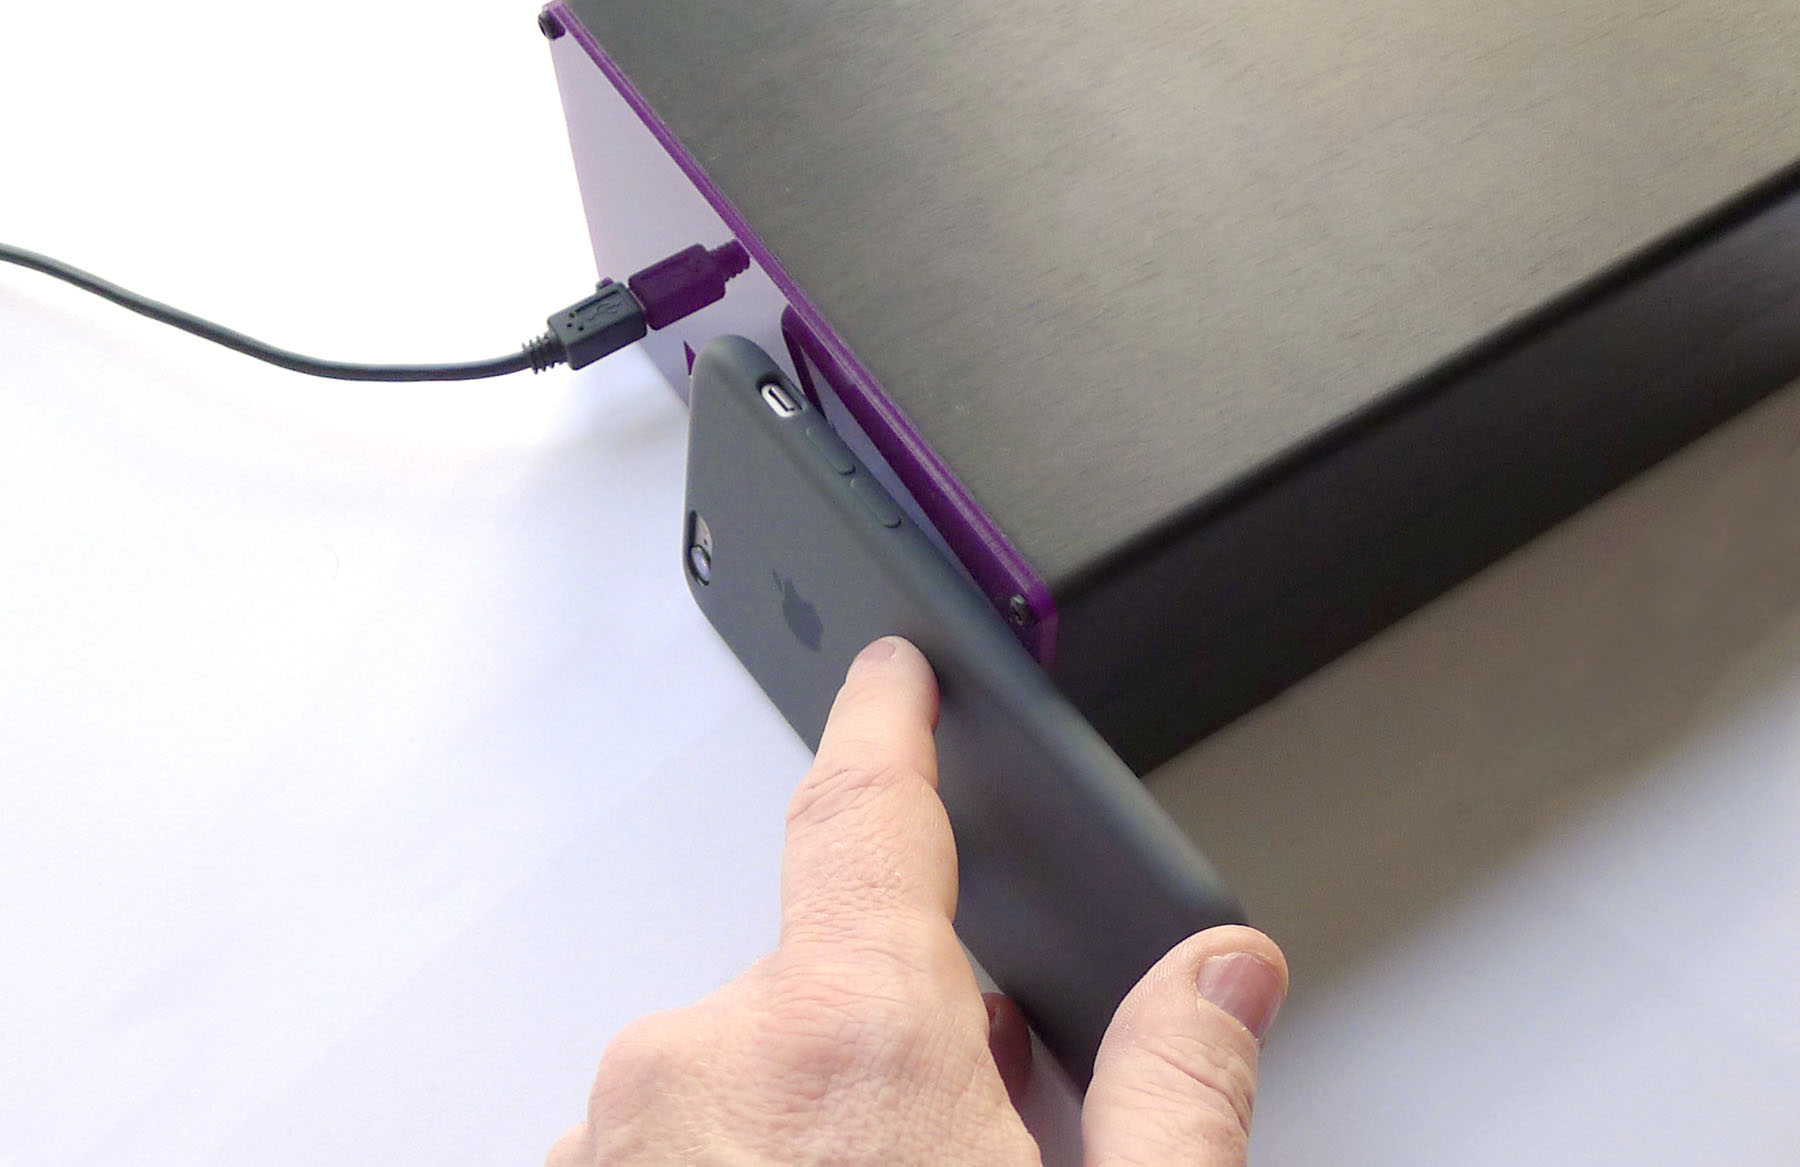
- Tap Next until you reach the BlinkUp screen then tap Start BlinkUp.
- Cover the status LED and BlinkUp sensor on the back panel of the impFactory completely with your phone or tablet’s screen, and wait for BlinkUp to complete.
- In impCentral, select My Development Devices from the devices menu (
 ).
). - Find your newly-configured device and copy its device ID.
Using BlinkUp to configure your impFactory
3. Assign Your impFactory To A (Test) Fixture Device Group
To assign your impFactory to a Test Fixture Device Group for factory firmware testing, select your account from the menu in the first entry in the navigation bar and then select Test Zone under MANAGE for your chosen Product. Now navigate to your Product’s Test Fixture Device Groups list and click Code in the MANAGE column.
When the code editor appears, click the Assign Devices button. Locate your impFactory in the list of devices now presented to you, check the box to the left of its name and device ID, and click the Assign button.
To assign your impFactory to a Fixture Device Group for production usage, select your account from the menu in the first entry in the navigation bar and then select Production Zone under MANAGE for your chosen Product. Click on the factory icon ( ) to view your Fixture Device Groups and, for the chosen group, click Fixtures under MANAGE. When the Factory BlinkUp Fixtures list appears, click on the Assign button. When the Assign Devices panel appears, paste in the Device ID of your fixture and then select the name of the Fixture Device Group you’ll be using:

4. Install The BlinkUp Emitter
impFactory appliances include an LED emitter on a cord. This should be plugged into the port on the rear panel of the impFactory marked IR (an off-the shelf IR emitter, such as are often used for remote control range extenders, may also be used here).
5. Send Factory BlinkUp On The Assembly Line
Most users will configure their impFactory appliances to perform a factory BlinkUp when the green front-panel button or optional foot switch are pressed. As DUTs arrive at the factory BlinkUp station on your assembly line, align the impFactory’s BlinkUp emitter with the DUT’s BlinkUp sensor, power on the DUT, and trigger factory BlinkUp.
Re-using The impFactory For Development Work
If you would like your impFactory to cease operating as a factory unit and resume a role as a development device (this is frequently done for easier factory firmware development), it’s easy to make this change in impCentral. Just re-assign the impFactory to a Test Fixture Device Group as outlined above.
Sample Code
You can find full sample factory firmware in the Dev Center’s Example Code section.
- Please see Writing, Testing and Using Factory Firmware if you required more detailed guidance on preparing your Product’s fixture and DUT firmware in impCentral™.
Buy An impFactory
To purchase impFactory appliances, please visit the Electric Imp Store.
DIY
For information on building your own factory BlinkUp fixture based on Electric Imp’s impFactory, please visit the reference design page.