RGB LED Tail
WS2812-equipped add-on for the April breakout board
Tails are now no longer in production or available to buy. We will retain these pages for owners of existing Tails, but they will not be updated
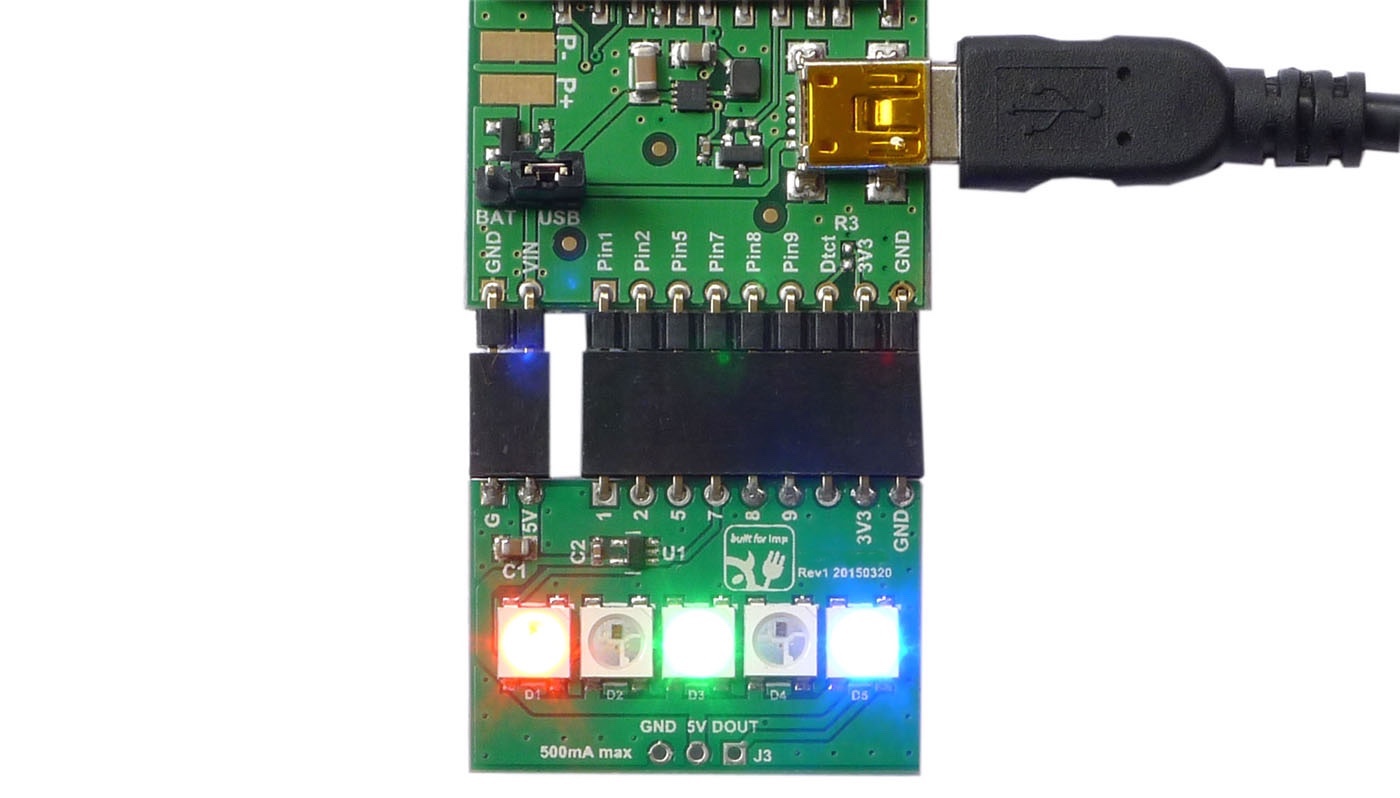
Electric Imp Tails are a great way to learn about creating exciting connected devices with the Electric Imp Platform. Each one clips straight onto an April breakout board and provides a set of sensors or other peripherals that are ready to use. You can build sophisticated connected devices with no electronics work — you may need to assemble the April but that’s it — and to focus instead on using Electric Imp’s impCentral™ and Electric Imp code libraries to get your device up and running very quickly.
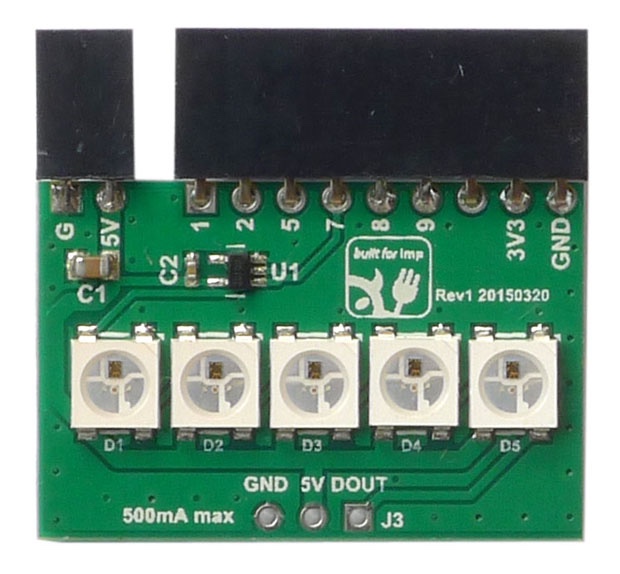
The RGB LED Tail provides a really easy way to find out how to control these amazing three-color LEDs using the connected Electric Imp Platform. Each Tail contains five WS2812 LEDs plus a connector point so you can wire up even more of them.
Getting Started
Before you start working with a Tail, you’ll need to get your dev kit connected to the Internet. This is done using Electric Imp’s BlinkUp™ technology, for which you’ll need to download the Electric Imp app for either an Android or Apple smartphone or tablet. You’ll also need to sign up as an Electric Imp developer — it’s free — to program the imp in your dev kit through impCentral.
Now visit our Quick Start Guide, which will walk you through these preliminary steps and get you ready to start working with Tails.
The WS2812 Library
The Tail’s RGB LED are addressed 0 through 4. WS21812s use a proprietary data bus, but it’s one that’s easy to simulate using the standard SPI (Serial Peripheral Interconnect) bus. Electric Imp’s own WS2812 code library takes full advantage of this.
To add the WS2812 library to your code, you need to place the following line right at the top of your device code:
#require "WS2812.class.nut:3.0.0"
This statement has to come before and of our own program code, single-line comments aside. There’s a space between #require and the string that specifies the library we want to load and the version of it that we want to use.
The library makes use of one of the imp API’s spi objects, which is instantiated for you automatically and is accessed as a property of the imp API’s hardware object. The imp has two; we’ll be using spi257, named for the three pins it operates over. In fact, we need only one, pin 7, which is connected on the Tail to a 3V3-to-5V level shifter and from there to the RGB LEDs themselves. Our code needs to configure the SPI bus and then pass it to the instance of the WS2812 class defined by the library:
hardware.spi257.configure(MSB_FIRST, 7500);
local leds = WS2812(hardware.spi257, 5);
The first line sets up the required SPI bus using its configure() method, passing a constant indicating that data flows most-significant bit first, and an integer to set the bus speed to 7500kHz (7.5MHz). The second line passes the now configured spi object to the WS2812 object we’ll be referencing with the variable pixels. The constructor’s second parameter is simply the number of RGB LEDs connected: five on the Tail, or more if you’re also using the Tail’s expansion port.
WS2812 Library Methods
The WS2812 library has three key methods:
set(index, color) — The method’s first parameter is the number of the LED in the sequence, the first being 0. The second parameter is an array of red, green and blue values, each from 0 to 255, which together specify the selected LED’s color.
fill(color[, start][, end]) — The method’s first parameter is the RGB color value you want the LEDs to be set to, as described above. The next two parameters, start and end, are optional: these are index values indicating a range of LEDs to color. For example, if you have 12 LEDs in sequence, and you want the middle six to be red, you’d pass the values 3 and 8 for start and end. If you don’t provide start and end values, all of the LEDs will be filled. To clear all the LEDs, just pass
[0,0,0]as the color value.draw() — This method has no parameters: it takes the current set of pixel color data, set using set() and/or fill(), and sends it to the LEDs themselves. Whatever changes you make using the previous methods, they will not be reflected by the LEDs until you call draw().
All public these methods return a reference to the WS2812 instance, so you can easily chain multiple calls using dot syntax:
// Five LEDS, set the first red, the second green, the rest blue
leds.set(0, [255,0,0]).set(1, [0,255,0]).fill([0,0,255], 2, 4).draw();
Expansion
The Tail’s expansion port comprises three pins: GND, 5V and DOUT (Data Out). To make use of the port, you’ll need to solder header pins to the points provided. Then you can wire up extra RGB LED strips, rings or individual lights by matching the units’ 5V and GND connections, and running the Tail’s DOUT to the extra WS2812s’ DIN (Data In) pin.
Hardware Design Files
The RGB LED Tail design has been released under the open source MIT licence.