Getting Started With The impC001
Activate Your Cellular Development Hardware
This guide is intended to help you get an impC001 Breakout Board online.
Note This guide only applies to development devices. Commercial imp-enabled products have their own configuration apps, and you should follow the product manufacturer’s own guidelines.
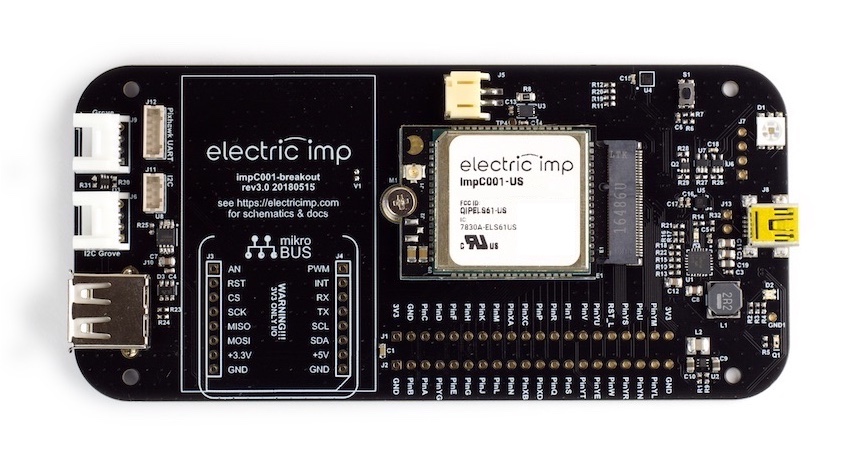
The impC001 Breakout Board ships with a mini USB cable, an AC adapter to power the board, and a patch antenna for the cellular connection. You will also need:
- A mobile phone or tablet running iOS or Android. This is used to activate the impC001 Breakout Board.
- A computer. This is used to access impCentral™, the Electric Imp online development and product management console.
1. Fit The impC001 To The Breakout Board
- Remove the retainer screw from the Breakout Board and put it to one side.
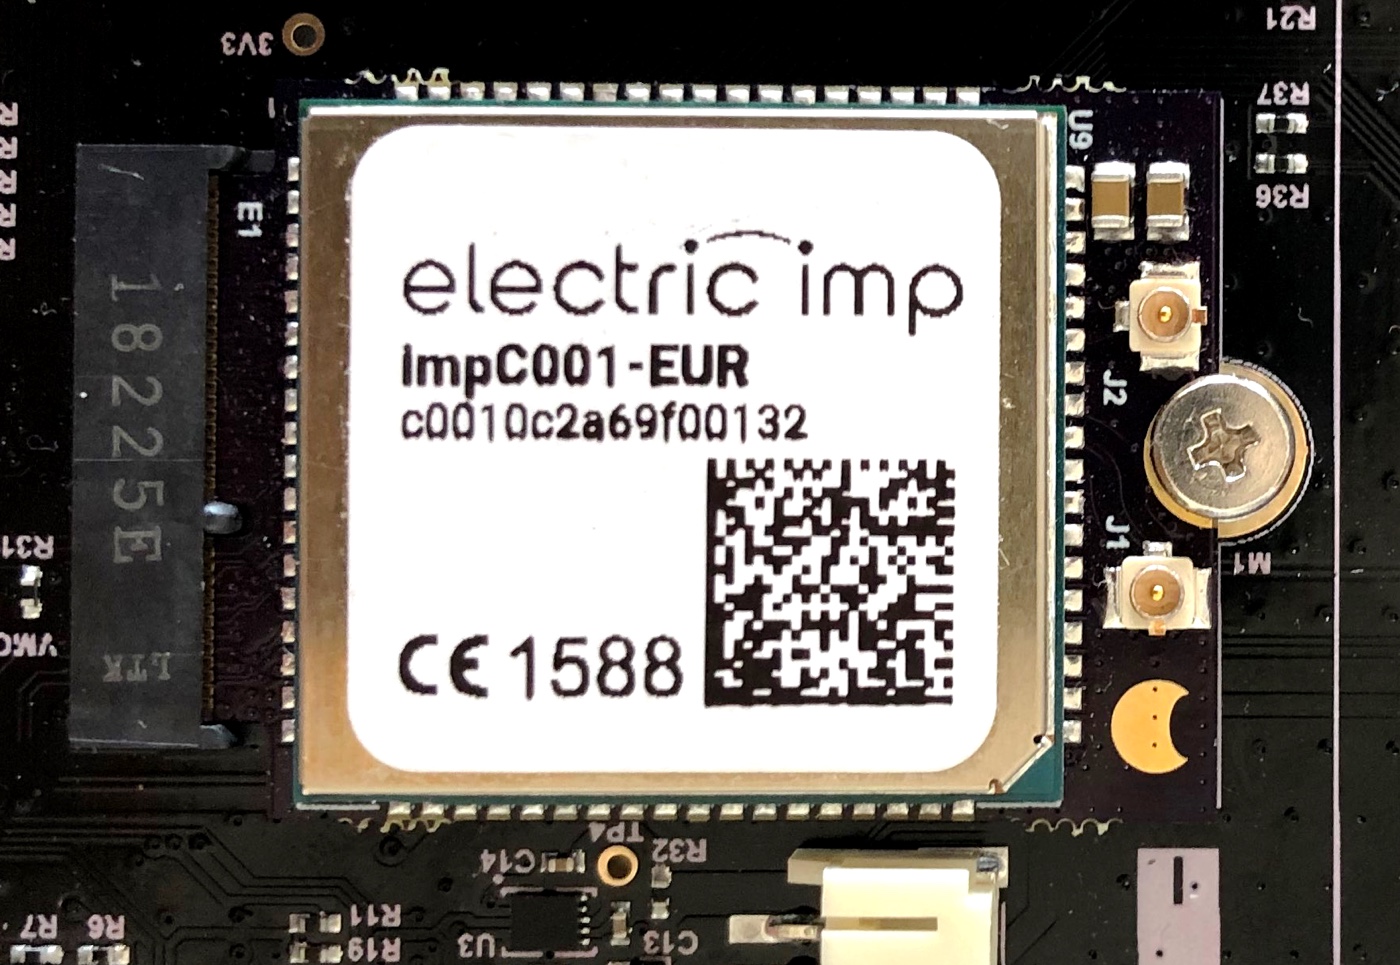
- Fit the impC001 into the connector. It will only fit one way round, with the Electric Imp label face up. Make sure the connection is tight.
- Re-fit the retainer screw to fix the impC001 securely in place. It will look like this:
Here the connector slot is on the left, the retainer screw on the right.
2. Connect The Cellular Antenna
- Carefully connect the coax cable from the patch antenna to one of the u.FL connectors on the impC001 module. There are two u.FL connectors; use the one marked J1:
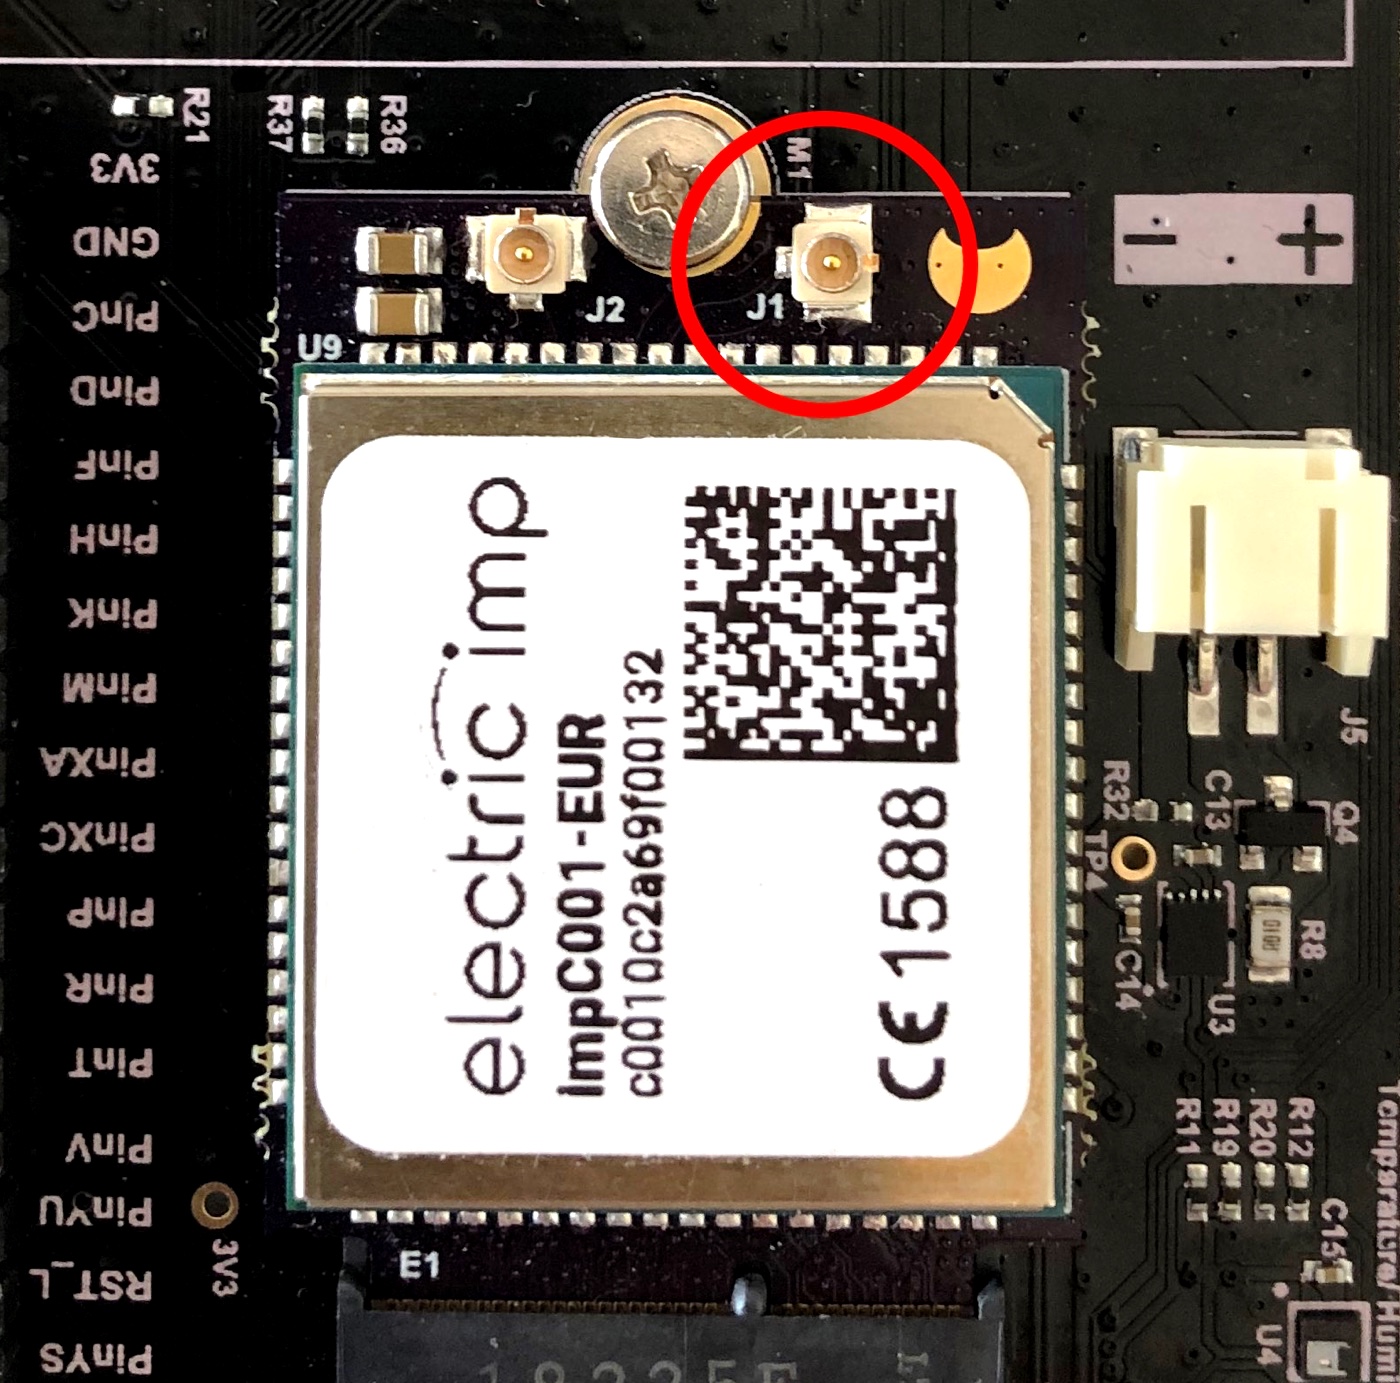
- Check that the connector is fully seated. It will click into place, and the cable will be parallel with the board when the connector is correctly seated.
- Do not power up the Breakout Board.
3. Create Your Free Electric Imp Developer Account
If you already have an Electric Imp account, skip to Stage 4.
An Electric Imp account gives you access to impCentral™, which you will use to program your impC001 Breakout Board. New and updated application code is deployed from impCentral to imps via the Internet.
- In your web browser, visit impCentral
- Enter your email address in the Sign Up section and then click the Sign Up button:

- You will shortly receive an email message which asks you to verify your email address:

- Click Complete Signup in the Welcome to impCentral email. You’ll be taken back to impCentral to choose an account username and password, and to enter some basic information about yourself:

- Enter your chosen username and password. Your password must contain between eight and 20 characters. Your username must also contain 8-20 characters, and must not be your email address.
- Review the Electric Imp terms of service and privacy policy then check the By creating this account... box.
- Click Set to apply your choices.
- Leave impCentral open in your browser.
4. Activate Your impC001 Breakout Board
In order to program your impC001 Breakout Board, you need to add it to your account. This process is called activation and is accomplished using Electric Imp’s BlinkUp™ technology.
- On your mobile device, download the Electric Imp App from the iTunes App Store or from Google Play.
- Launch the app and enter your account username and password:

- Optional Enter your verification key if you have Multi-Factor Authentication (MFA) set up for your account. MFA is not enabled by default on new accounts.
- Tap CONFIGURE A DEVICE:

- At the SETUP screen, tap Cellular:

- Power up the impC001 Breakout Board using the mini USB cable connected to a USB AC adapter or to a USB port on your computer. The board’s BlinkUp status LED should be flashing orange; if it is not, reconnect the power supply. Now tap NEXT.
- At the BLINKUP screen, tap START BLINKUP:

- Quickly lay the mobile’s screen face down over the status LED. After a three-second countdown, BlinkUp commences; when BlinkUp is complete, the mobile device will signal this with a beep and a vibration:

Always run a BlinkUp with the screen facing away from you and towards the device being configured, especially if you suffer from a medical condition that makes you susceptible to strobing light. In the iOS app there are audio prompts both at the start and end, so you can close your eyes during the process. The Android app vibrates the handset after BlinkUp is done.
The impC001 Breakout Board signals a successful BlinkUp by keeping the status LED lit green for three seconds. After that, various color combinations may be seen as the impC001 connects to the cellular network and activates, culminating in a steady green blinking. The initial connection to the cellular network may take two minutes or more depending on local network conditions.

If the LED doesn’t eventually blink green, the device has not been able to connect, and you should check out Getting BlinkUp Right, below, otherwise proceed to Stage 5.
Connected or not, after a short time the impC001 Breakout Board’s LED will turn off to save power. This is normal, and the device is still running.
Getting BlinkUp Right
If the impC001 Breakout Board still shows a slow flashing orange LED after BlinkUp, it wasn’t able to read the BlinkUp transmission — perhaps you held it too far from the phone’s screen. BlinkUp can also be adversely affected by unusual lighting conditions, especially very bright lighting such as direct sunlight. For best results, we recommend that you:
- Try to block out any direct bright lights, or perform a BlinkUp in the shade.
- Hold the device still during the process.
The pattern of colors and flashes presented by the status LED will tell you where any problem is occurring. Our troubleshooting guide can help you further.
5. Program Your impC001 Breakout Board
Your impC001 Breakout Board is online and activated.
- When you first log in, impCentral presents a convenient quick start wizard:

- Click Create Your First Product.
- A new panel will appear in which you can enter the name of your first Product and your first Device Group:

- Enter
Connected Productas the Product’s name,Hello Worldas the Device Group’s name, and then click Create. impCentral will now present its code editor:

- Click the Assign Devices button.
- A panel will appear listing your devices. You should see just one: your impC001 Breakout Board, identified by its unique Device ID:

- Click the Assign button to add your impC001 Breakout Board to the group shown in the code editor.
- impCentral will now return to the code editor. Click on the Device Code pane (on the right) and type in the following:
server.log("Hello from your impC001 Breakout Board");- Click Build and Force Restart (above the Agent Code pane). The impC001 Breakout Board will now restart, and the code editor log should show:
[Device] Hello from your impC001 Breakout Board6. Next Steps
Your impC001 Breakout Board is ready for use. Here are the next steps you should take:
- Get a deeper dive into the impC001 with Working With The impC001 and the impC001 Breakout Board reference.
- Learn more about Squirrel, the language in which you write your agent and device code, using the Squirrel Programming Guide.
- Review the imp API which is the primary framework your code will use to interact with its host imp, locally connected hardware and remotely access resources on the Internet.
- Take advantage of Electric Imp’s free, ready-to-use Libraries — code your application can load to interface with key hardware components and cloud services.
- Kick-start your application with sample code, including the imp API cookbook: a series of recipes for common imp application tasks. Not all of the examples have been written for the impC001 Breakout Board, but imps are software compatible. Use the imp pin mux pages to help you adapt code to the impC001.
- Explore the features offered by impCentral, and learn how it organizes your project, with the impCentral User Guide.